Setup wizard
The setup wizard opens on the first start and walks you through the important settings. Every step except language and controller layout can be skipped, and everything can be changed later. Run it again any time from Settings → System → Setup wizard.
The steps below are the Android ones; on Windows some differ (startup, game sources, the PC as host).
1 · Welcome
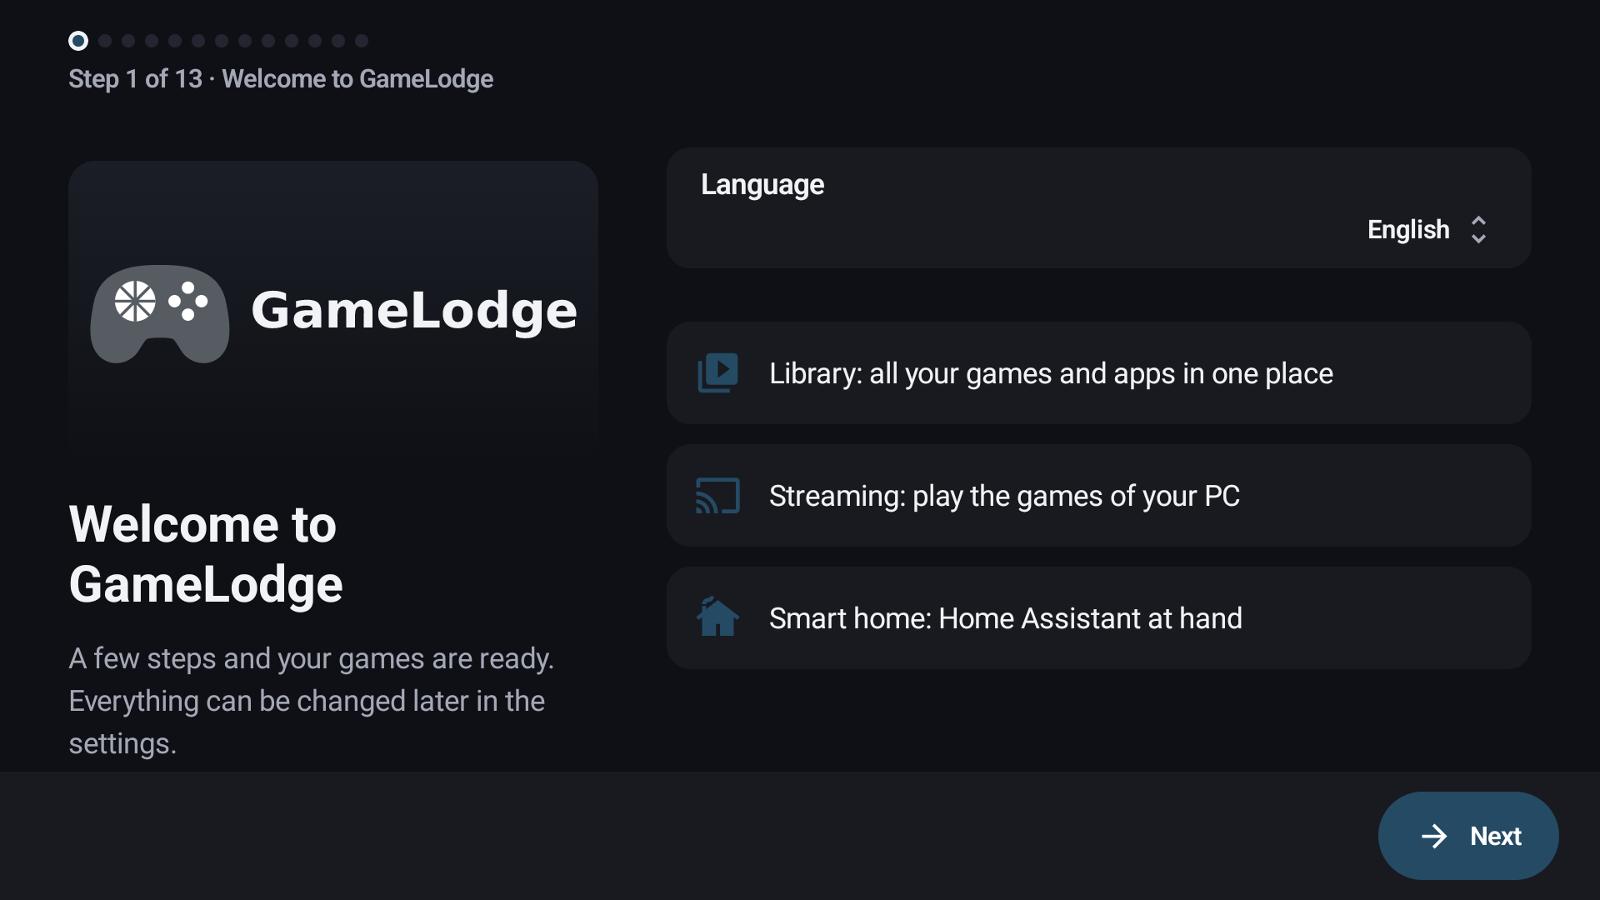
Choose the language – or restore a backup from another device. The backup path pairs your hosts first and then restores (see Backup & restore).
2 · Controller
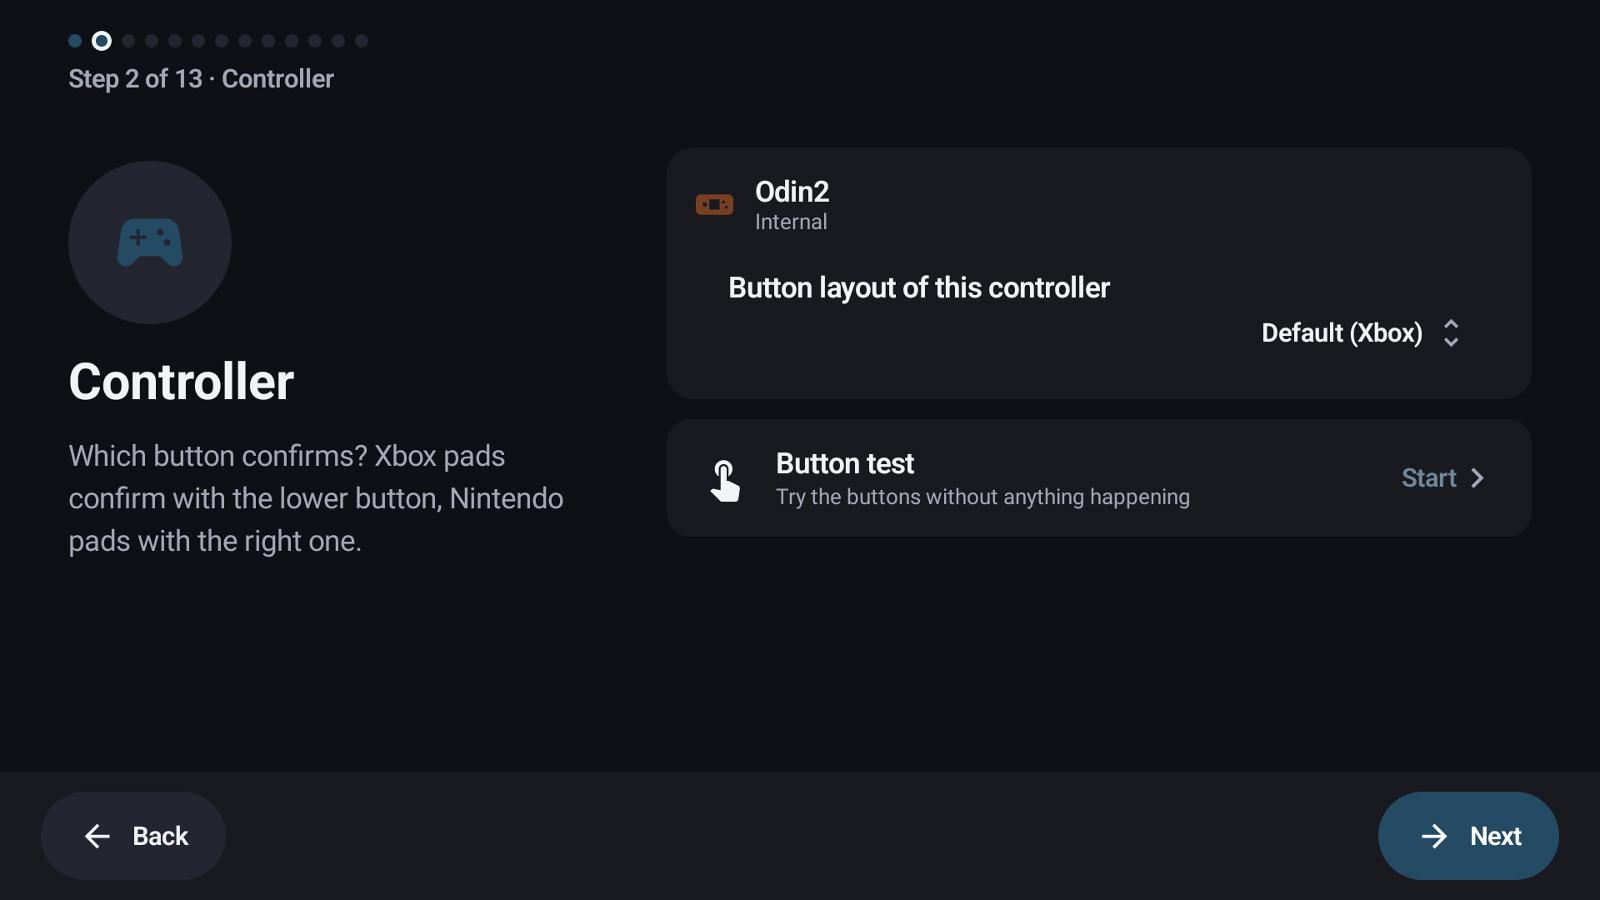
The button layout of your controller: Xbox pads confirm with the lower button, Nintendo pads with the right one. Button test lights up the buttons you press, so a wrong layout is obvious at once.
3 · Button shortcuts
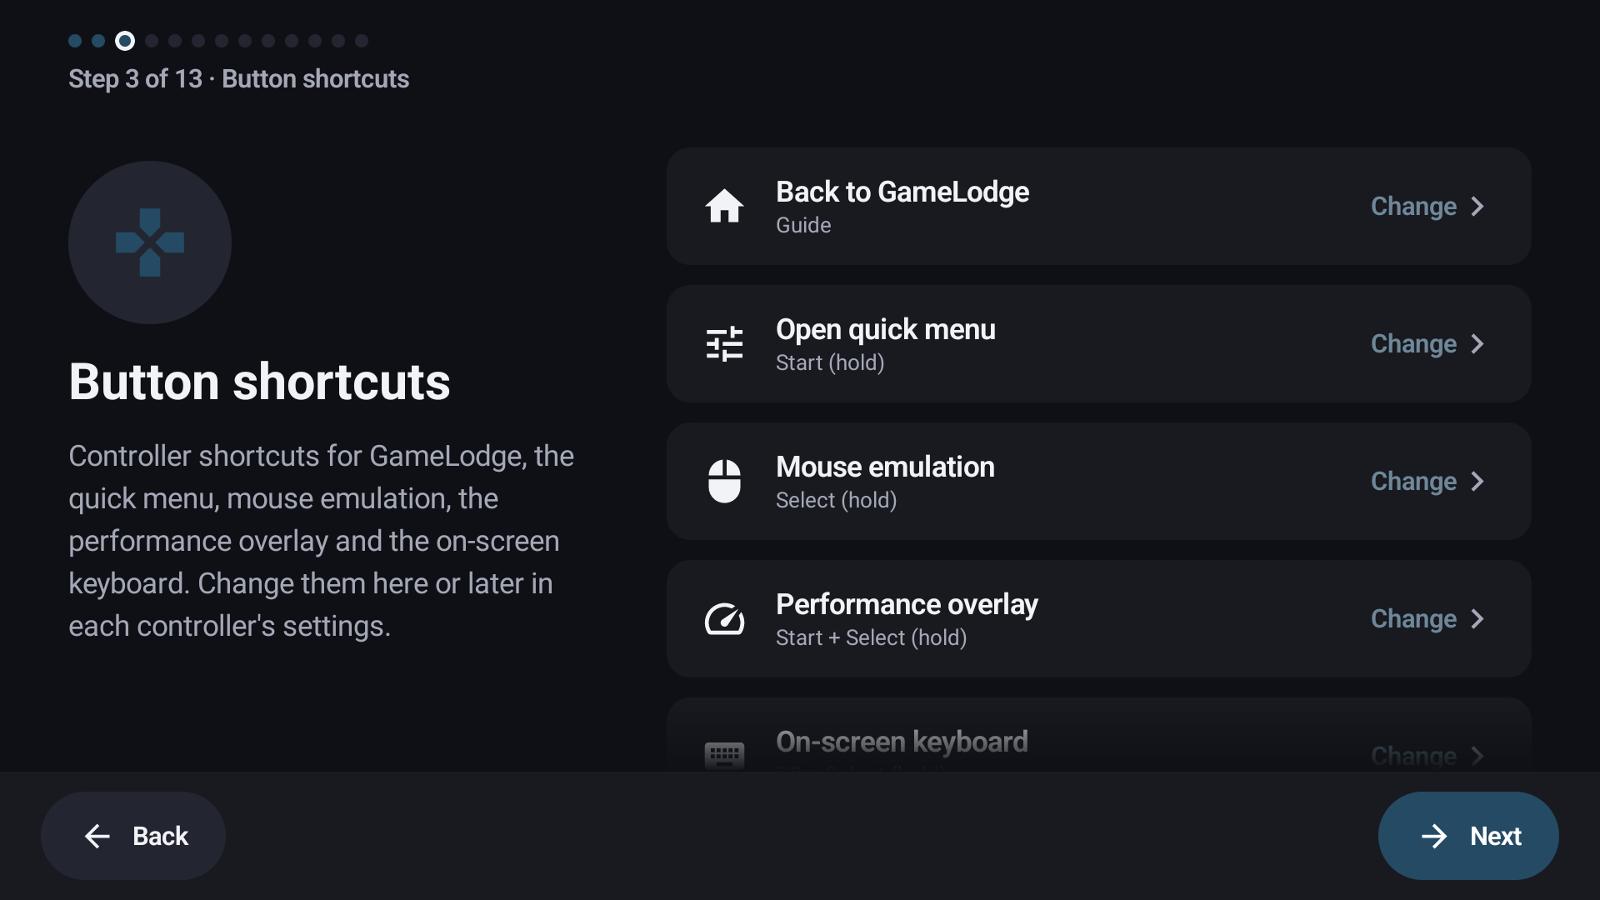
Back to GameLodge, quick menu, mouse emulation, performance overlay and on-screen keyboard, each with Change. Below: enable the accessibility service so the shortcuts work in other apps too (see Controllers & shortcuts).
4 · Appearance
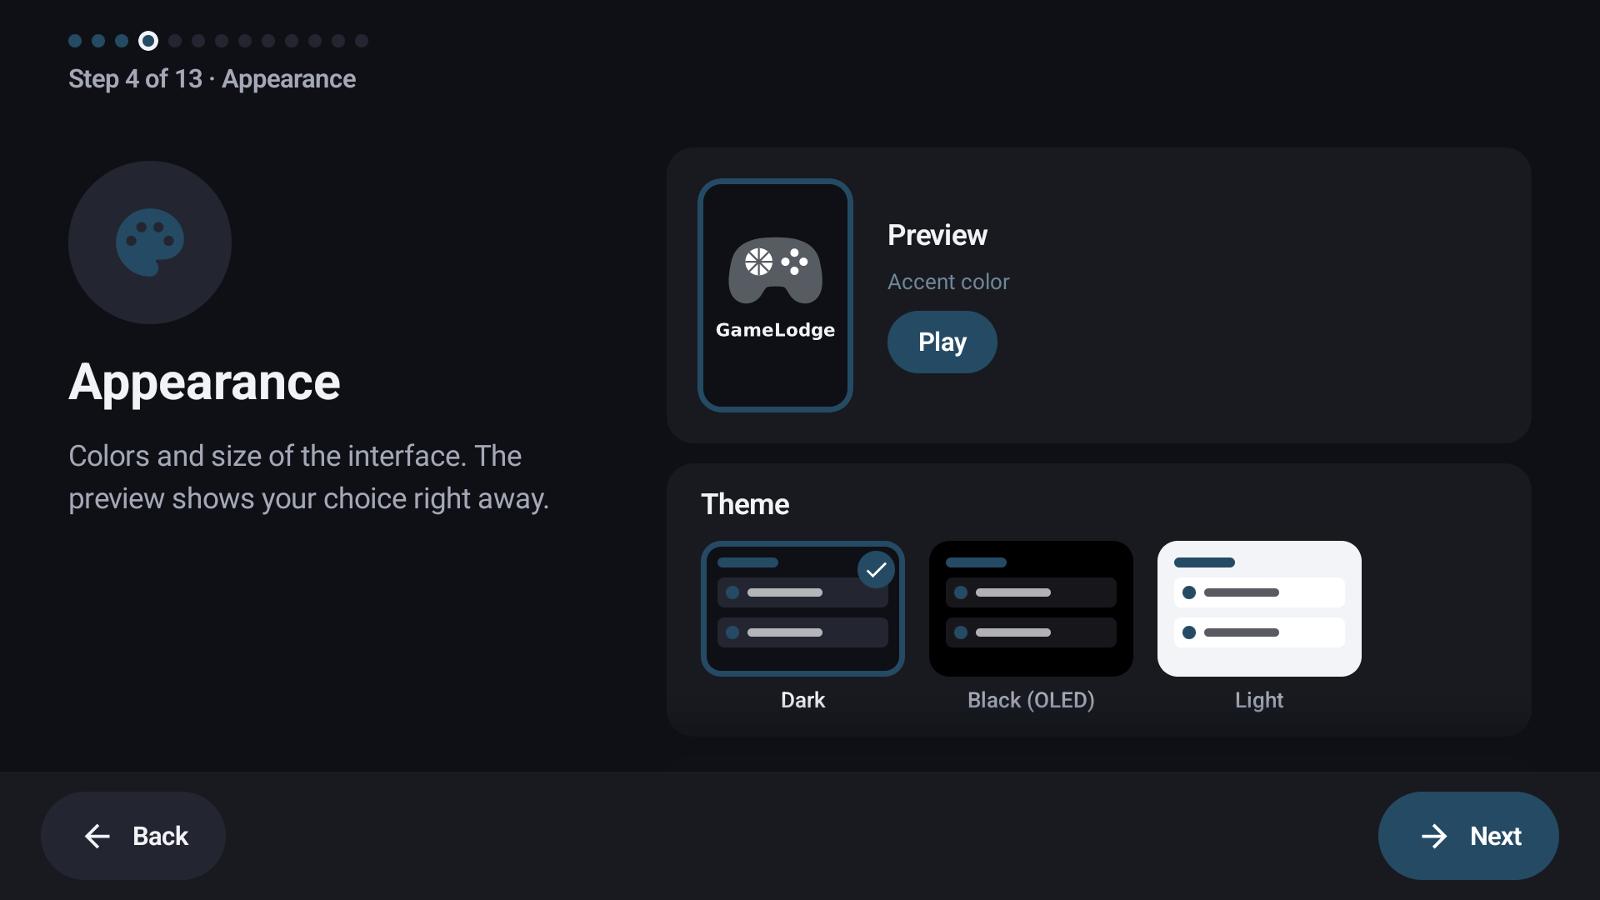
Theme, accent colour, size and animations, with a live preview.
5 · Home app
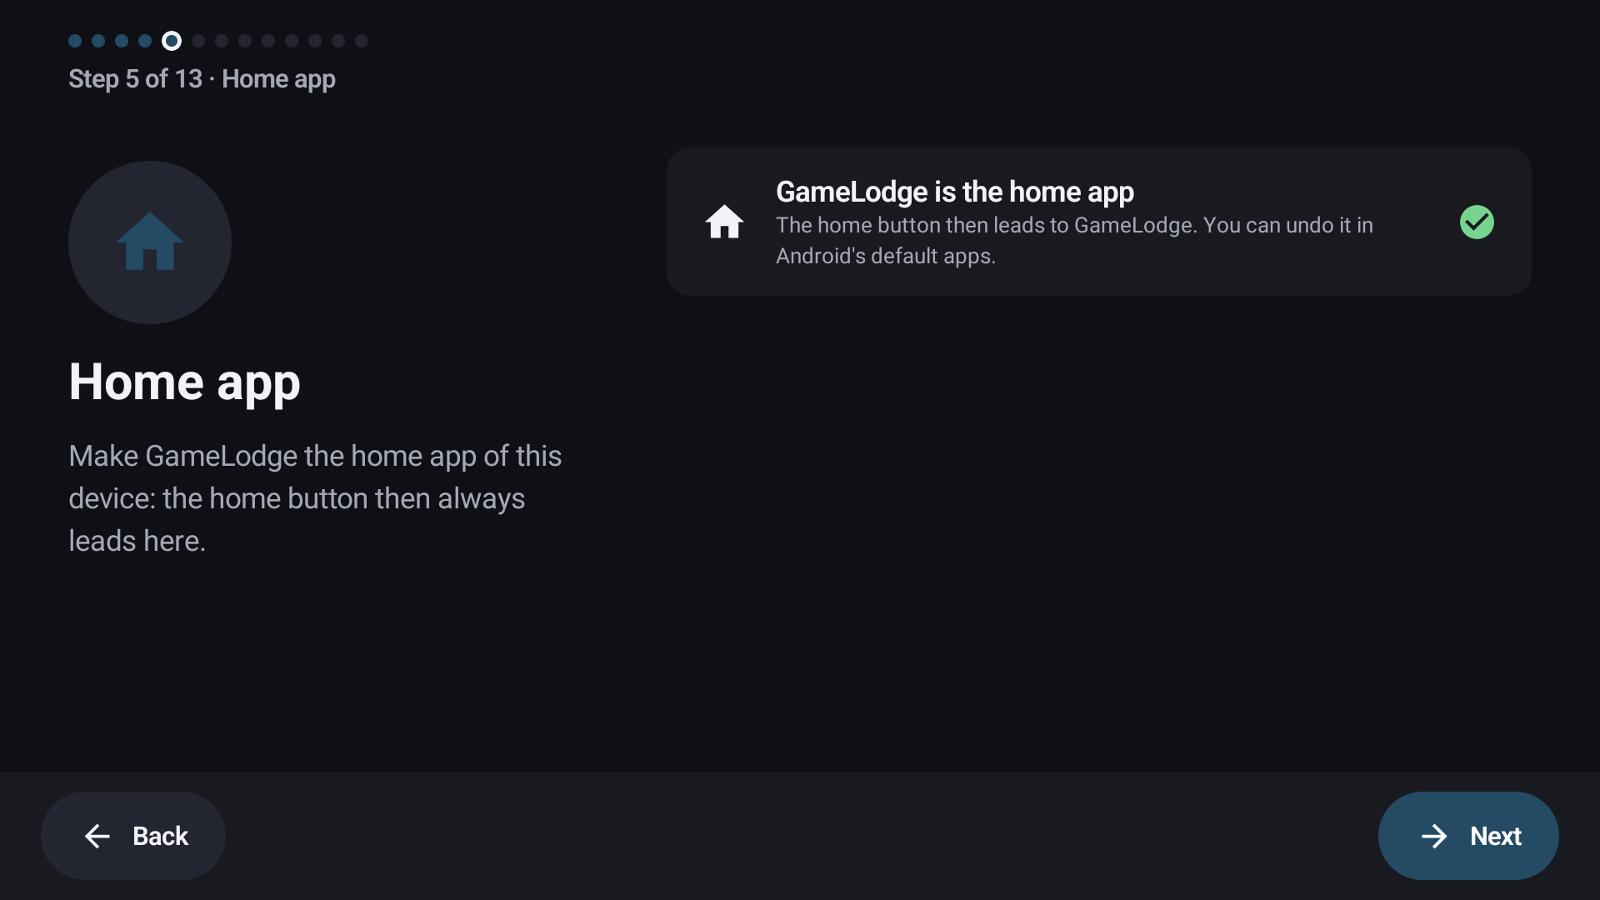
Make GameLodge the home app: the Home button then always leads to it. You can switch back any time.
6 · Permissions
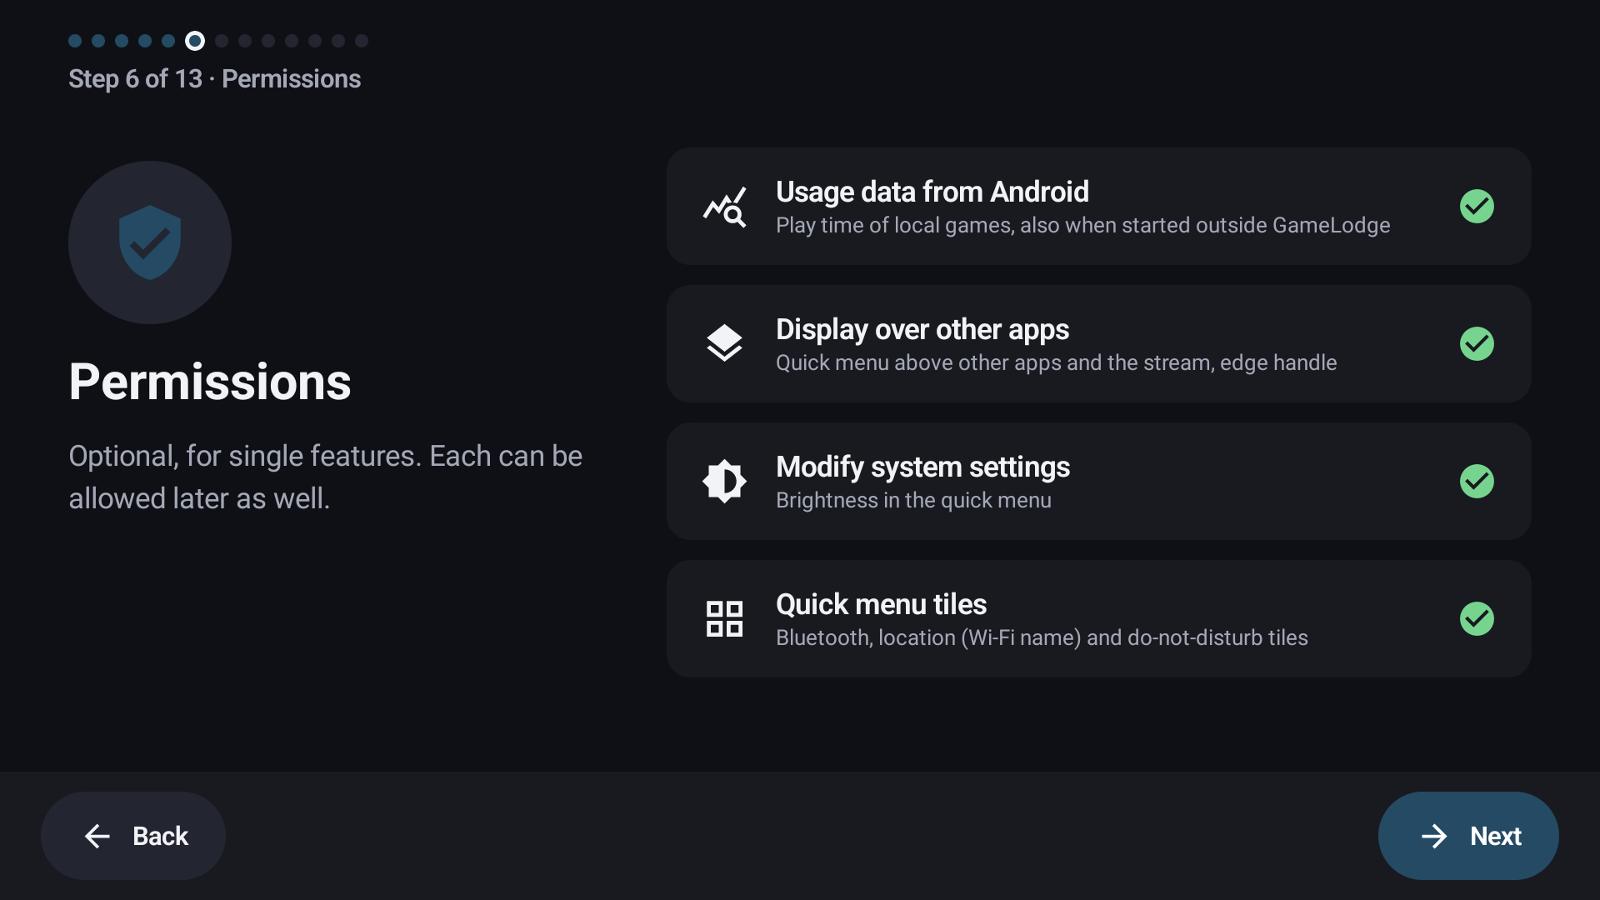
Optional, each for one feature: usage data (play time of apps started outside GameLodge), display over other apps (the quick menu over games), modify system settings (brightness), quick menu tiles (Bluetooth, Wi-Fi name …). See Getting started.
7 · Emulators & ROMs
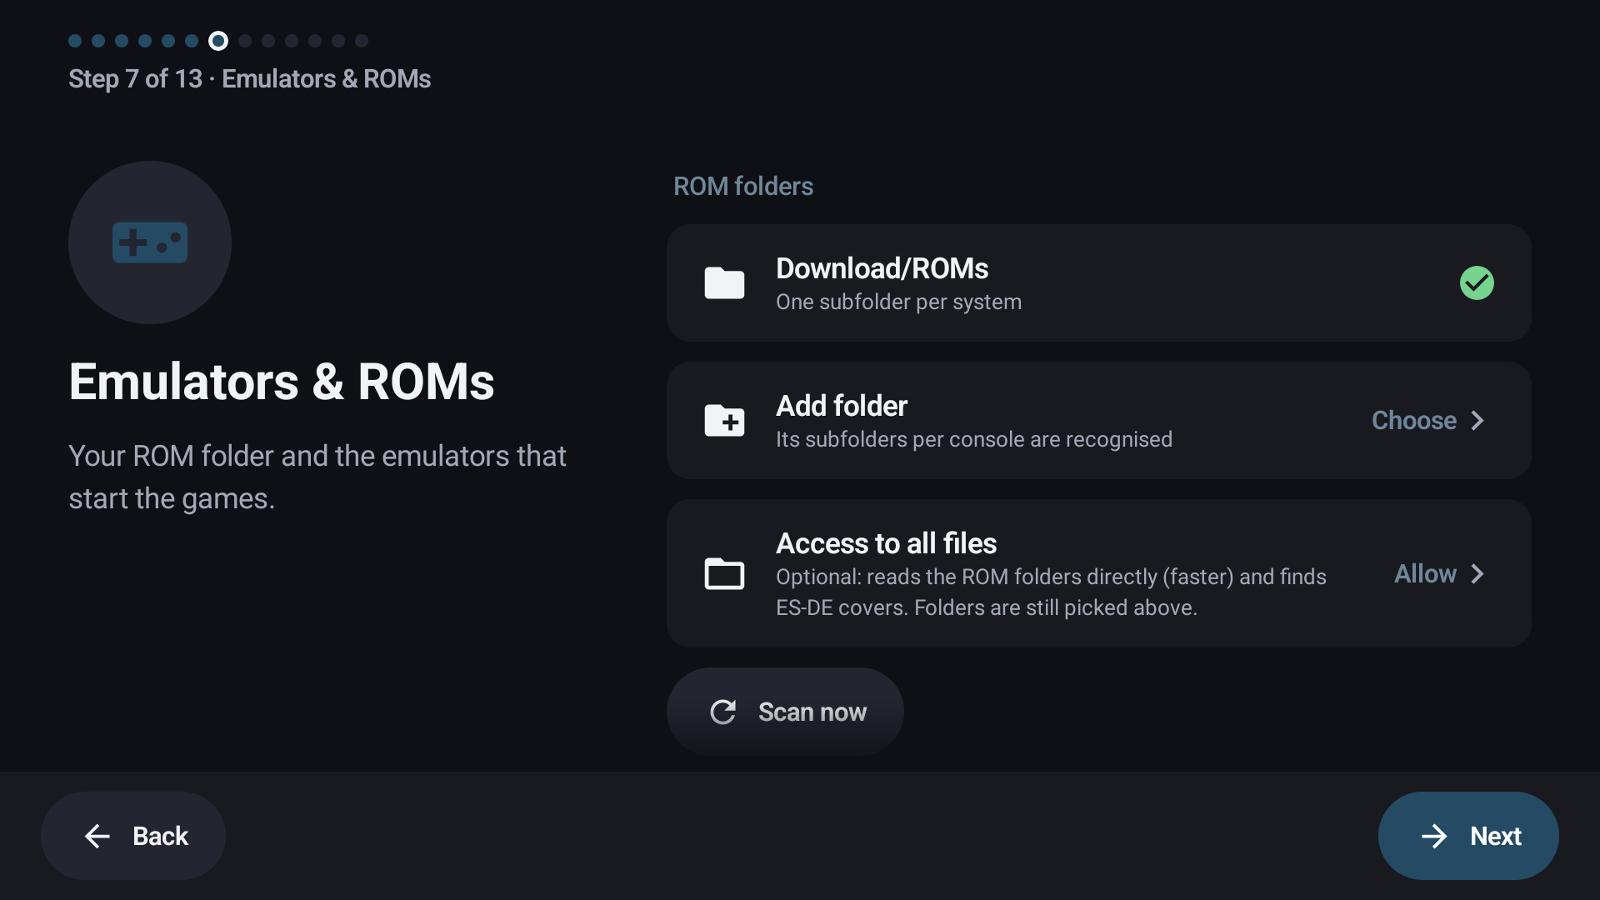
Add your ROM folders; GameLodge finds the installed emulators. See Emulators & ROMs.
8 · Streaming hosts
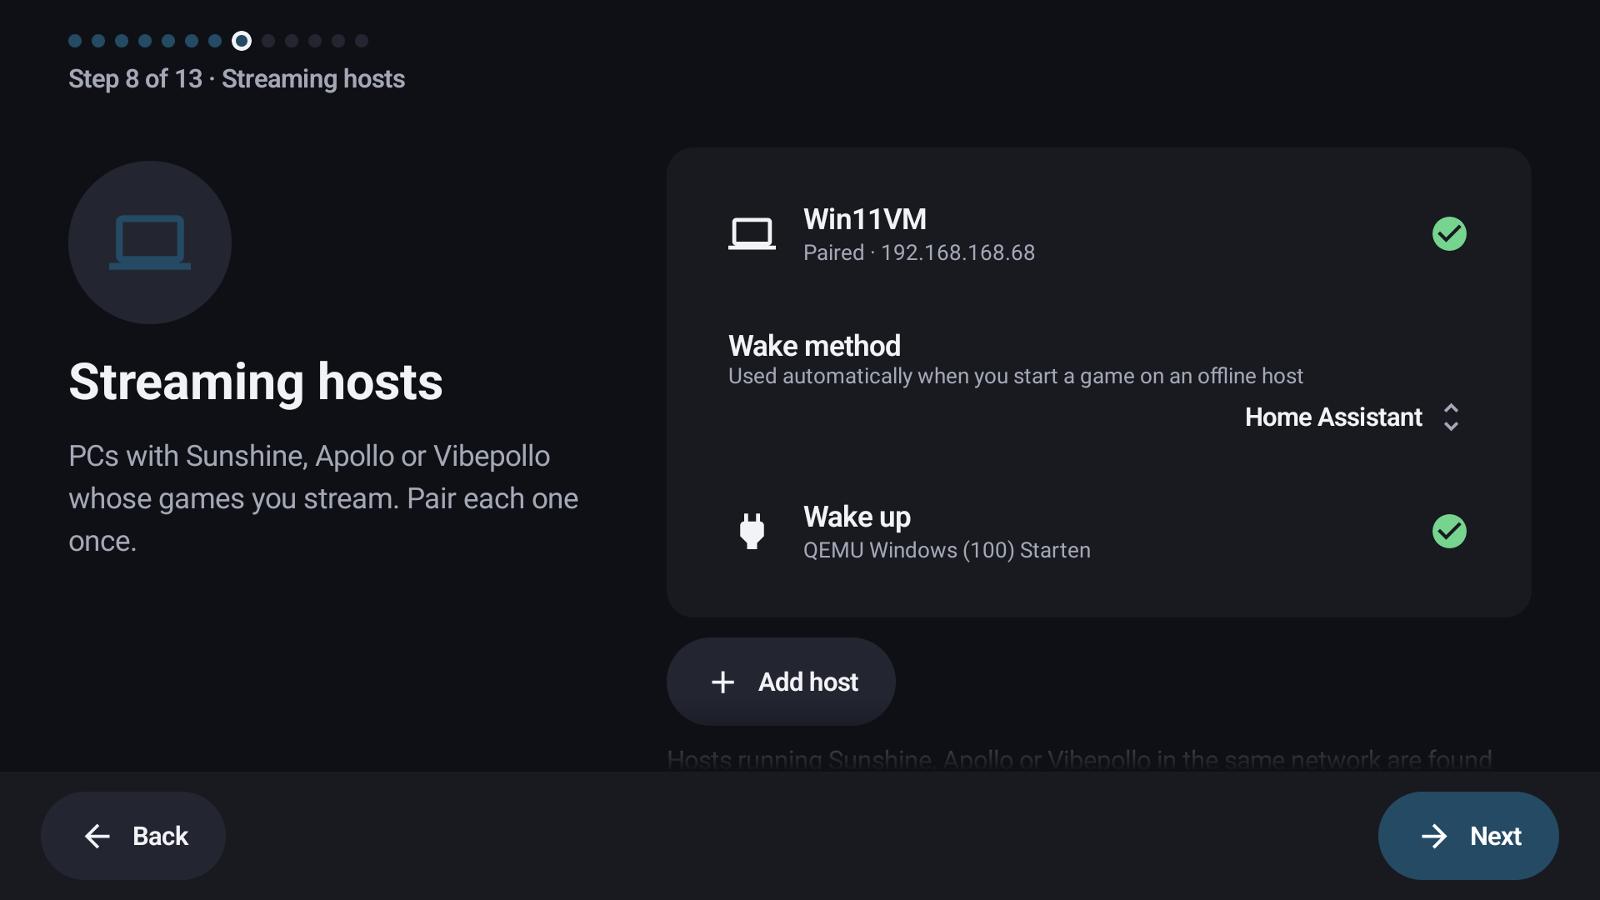
Found hosts with Pair, or Add host by address. Per host: the wake method. See Hosts & pairing.
9 · GameLodge on the PC
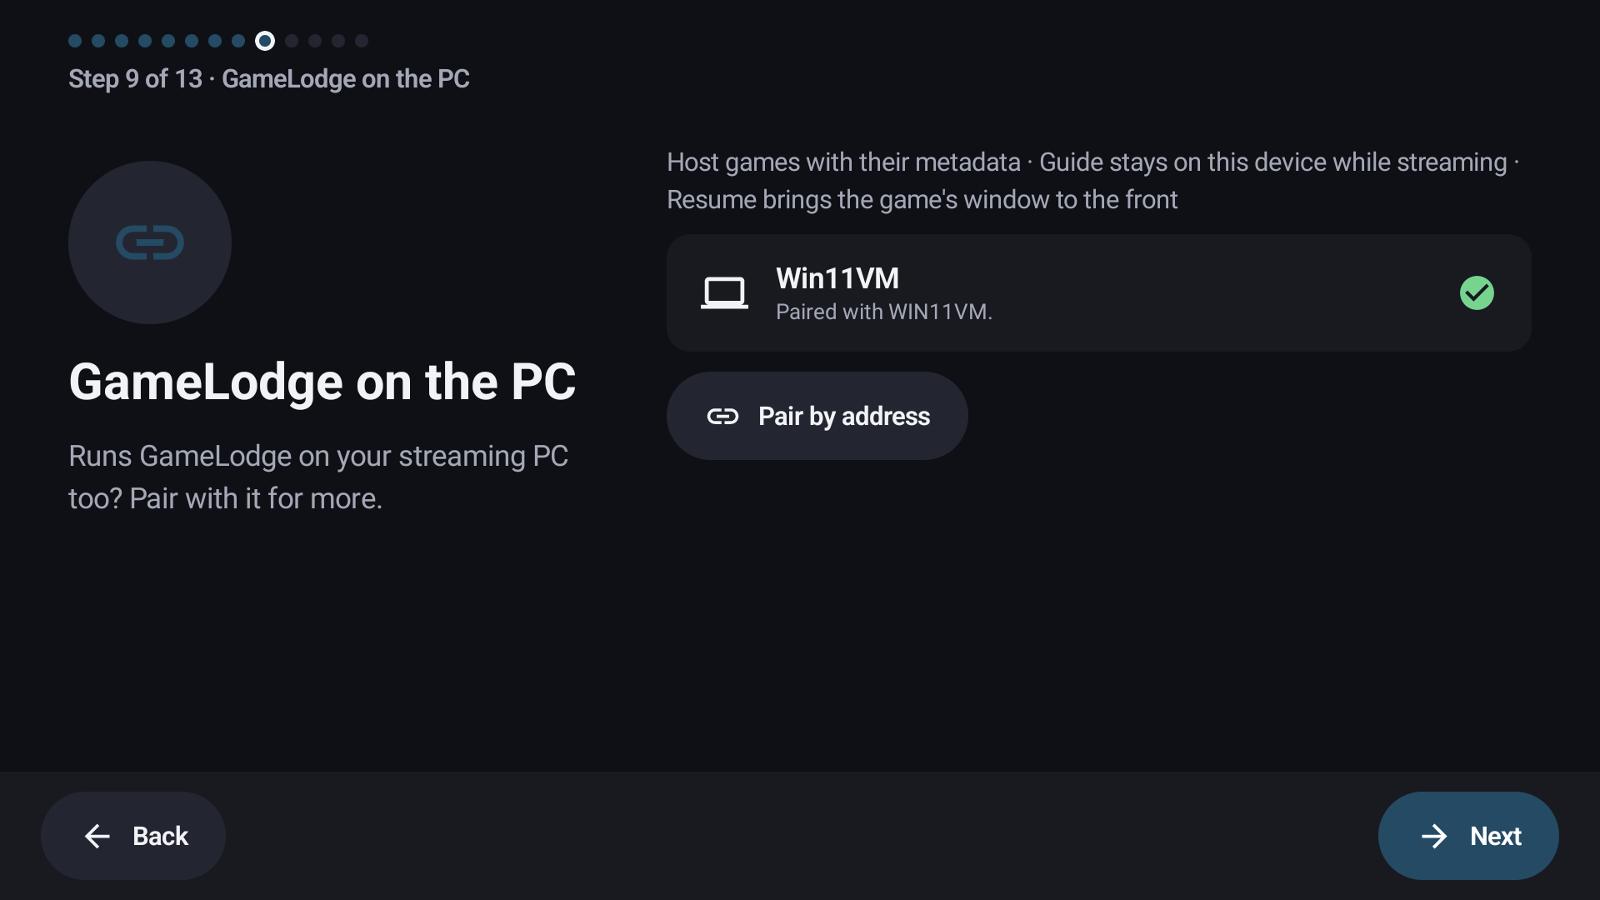
If your streaming PC runs GameLodge for Windows too, pair with it: host games with their metadata, Guide stays on the device while streaming, resume brings the game's window to the front.
10 · Covers & game info
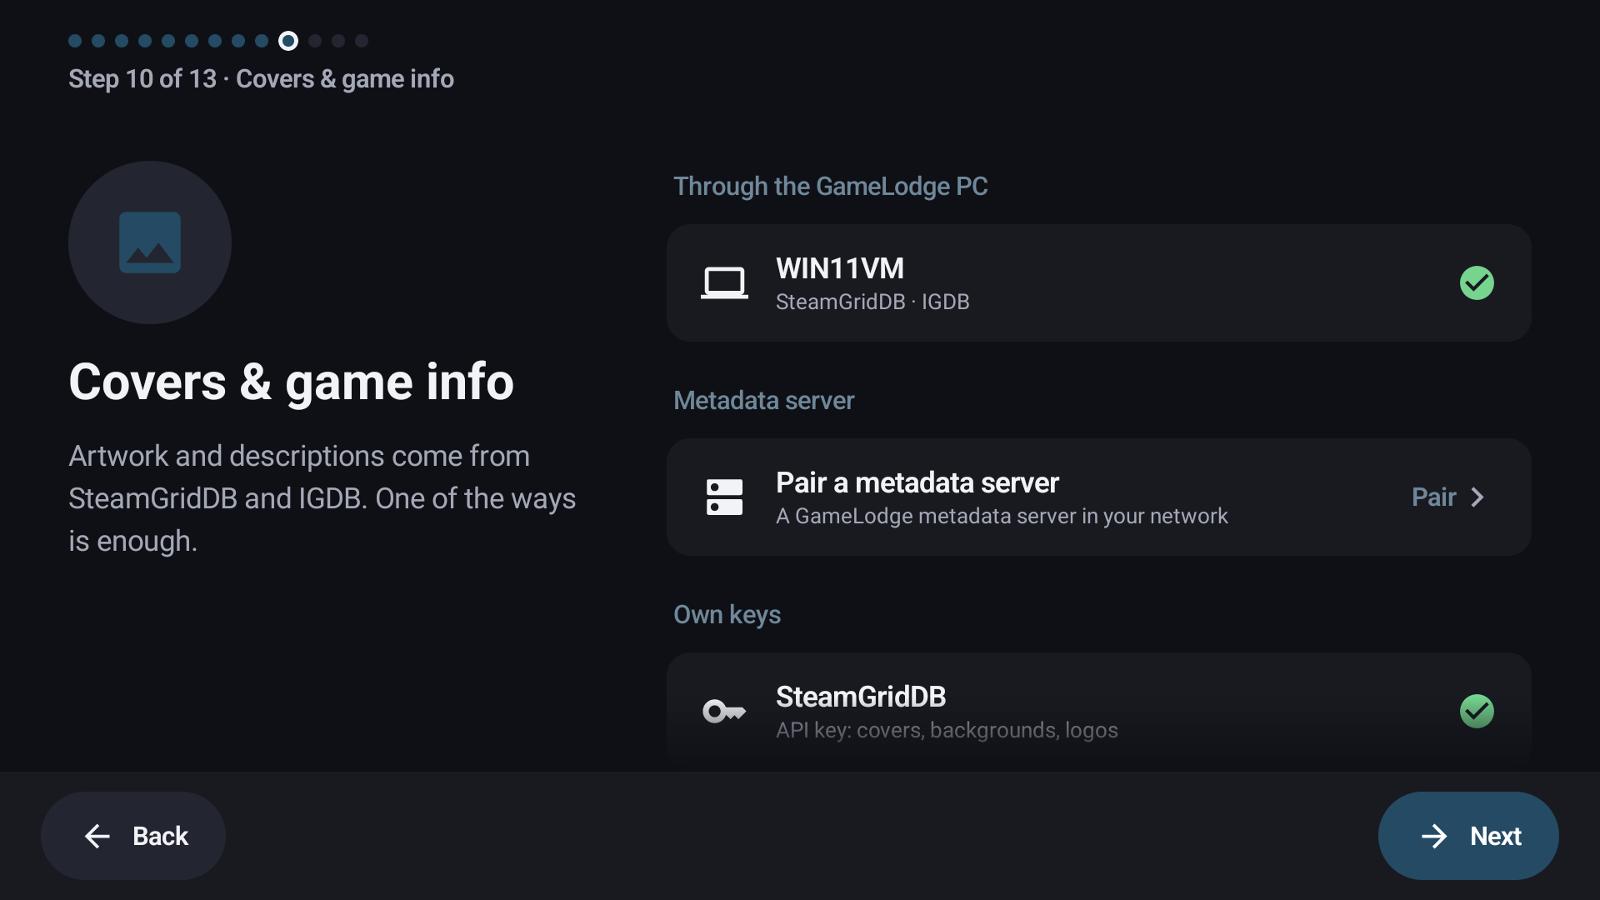
Where artwork and descriptions come from: through the GameLodge PC, a metadata server, or your own SteamGridDB / IGDB keys – one of them is enough. Each key has a guide with a QR code.
11 · Home Assistant
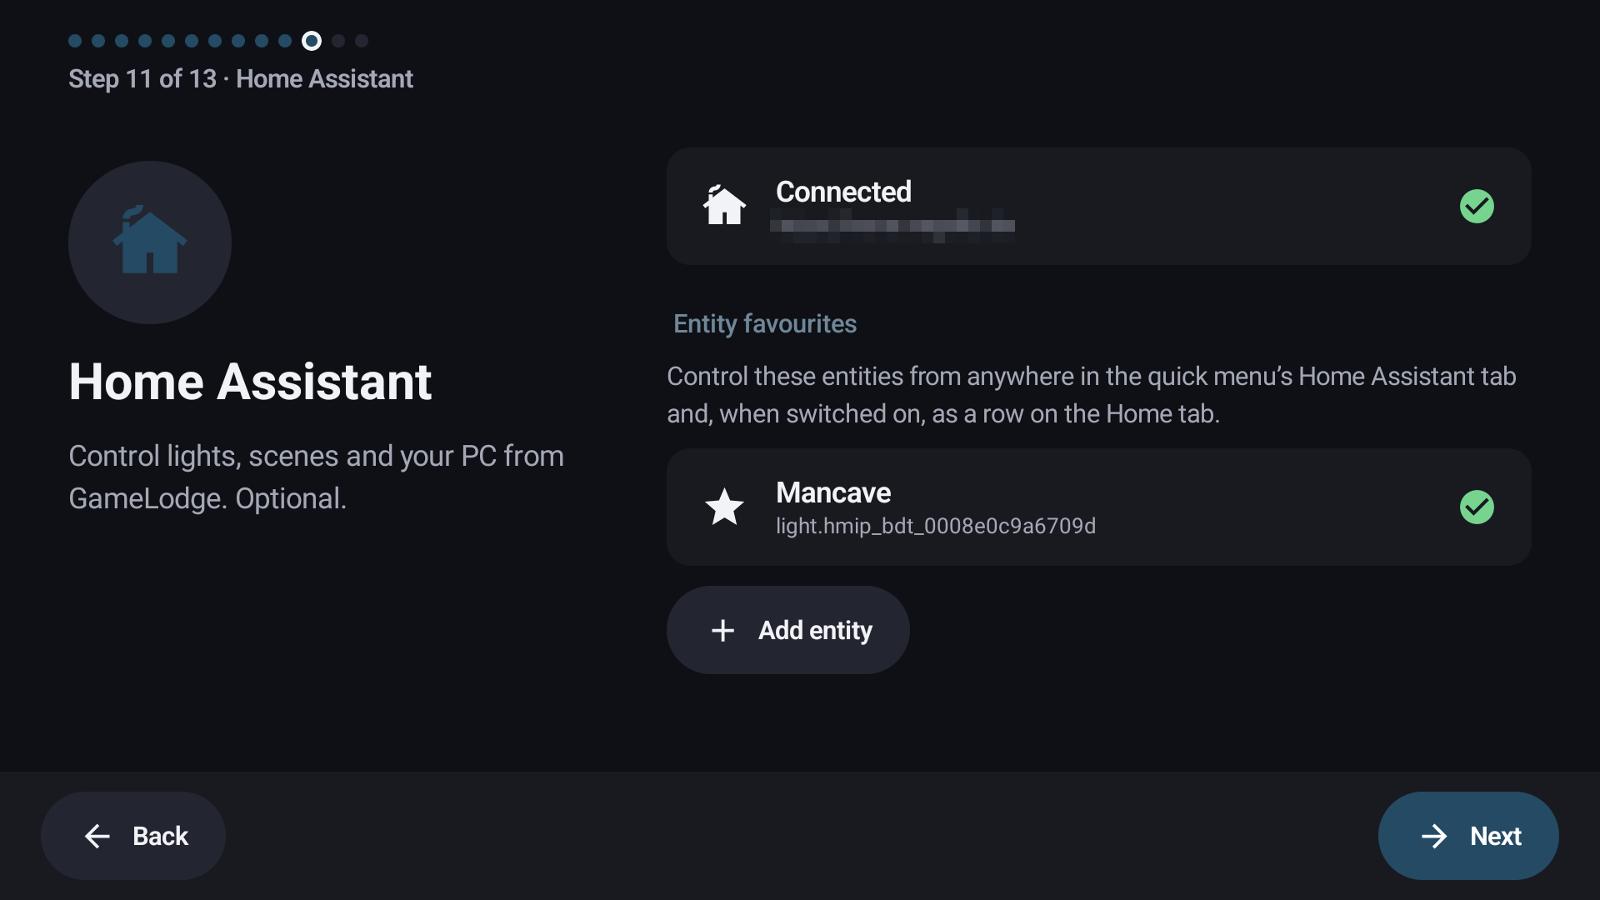
Sign in and pick the first entity tiles. See Home Assistant.
12 · VPN
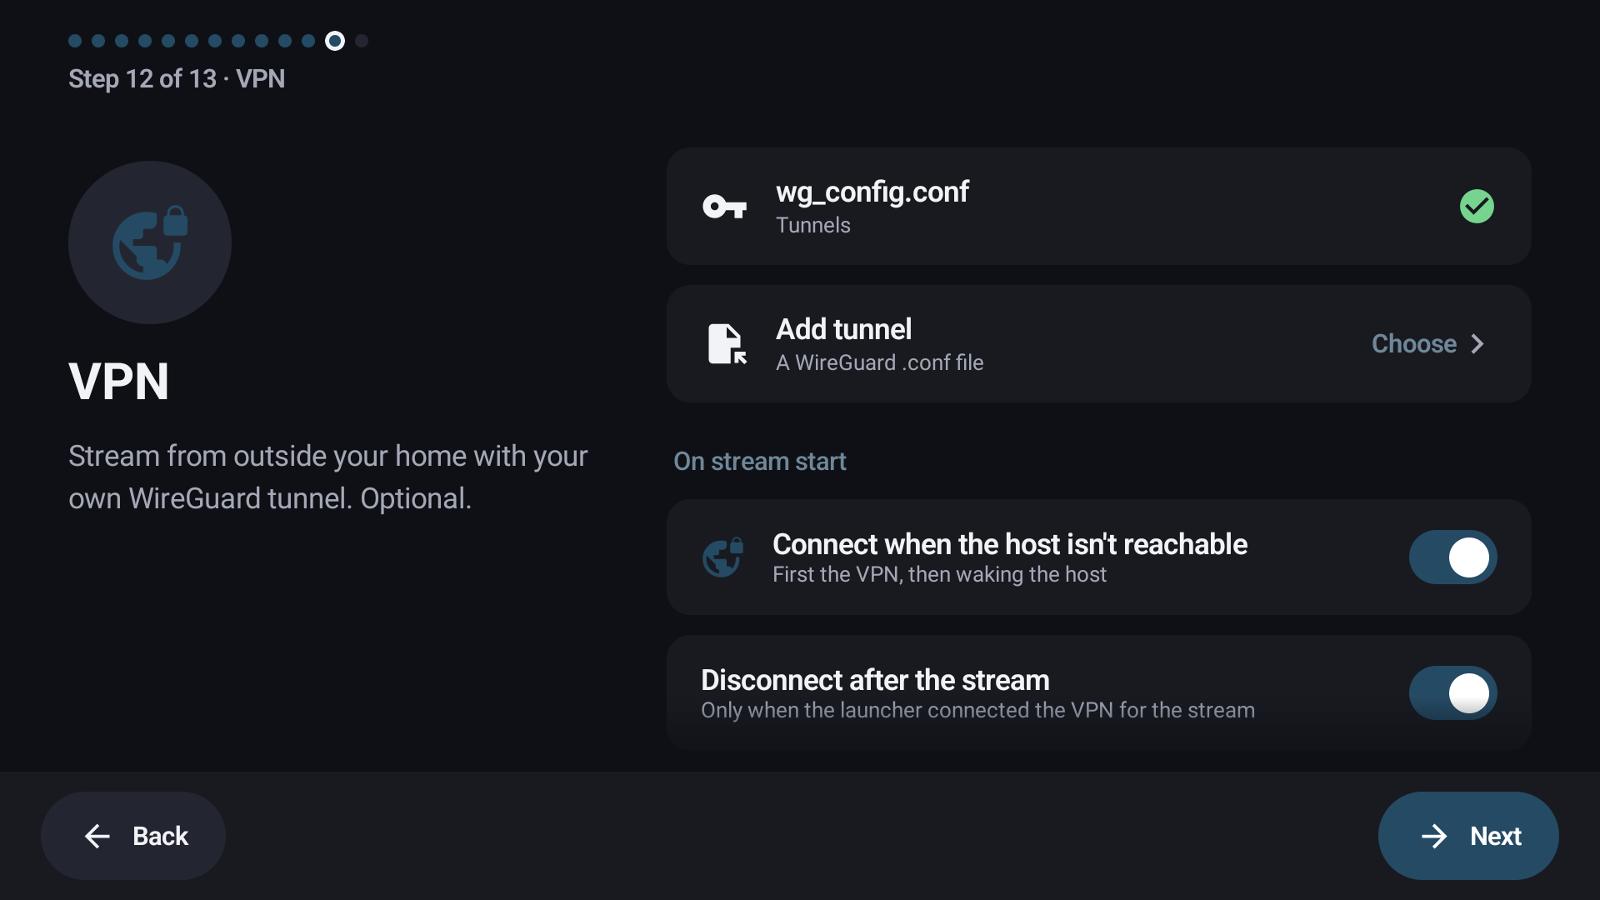
Optional: a WireGuard tunnel for streaming away from home. See VPN.
13 · All set
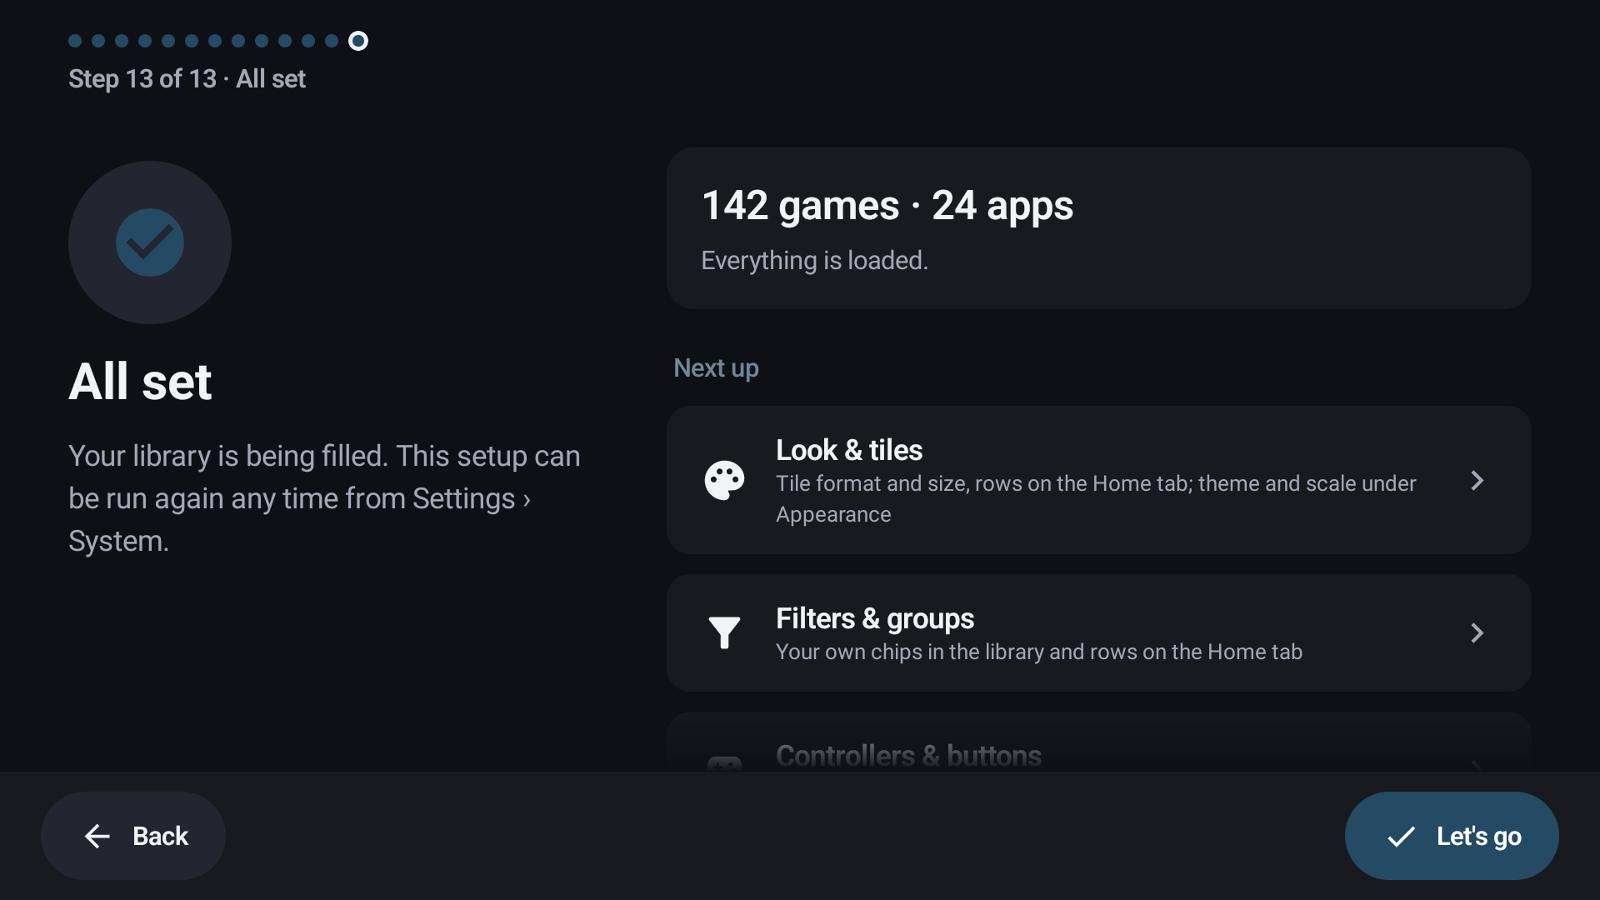
Your library is being filled. Next up links to the settings worth a look next: tiles, filters and groups, controllers and buttons.
See also
- Getting started – install, home app, permissions
- Hosts & pairing
- Metadata & artwork – SteamGridDB and IGDB keys
- Backup & restore – restoring on a new device